Votre consultant & agence SEO à Rennes
Des tarifs clairs, simples et sans blabla pour tous.


Maison du plug
Nas.io
Atelier lou Paris
Semello Boutique
Ils nous font confiance
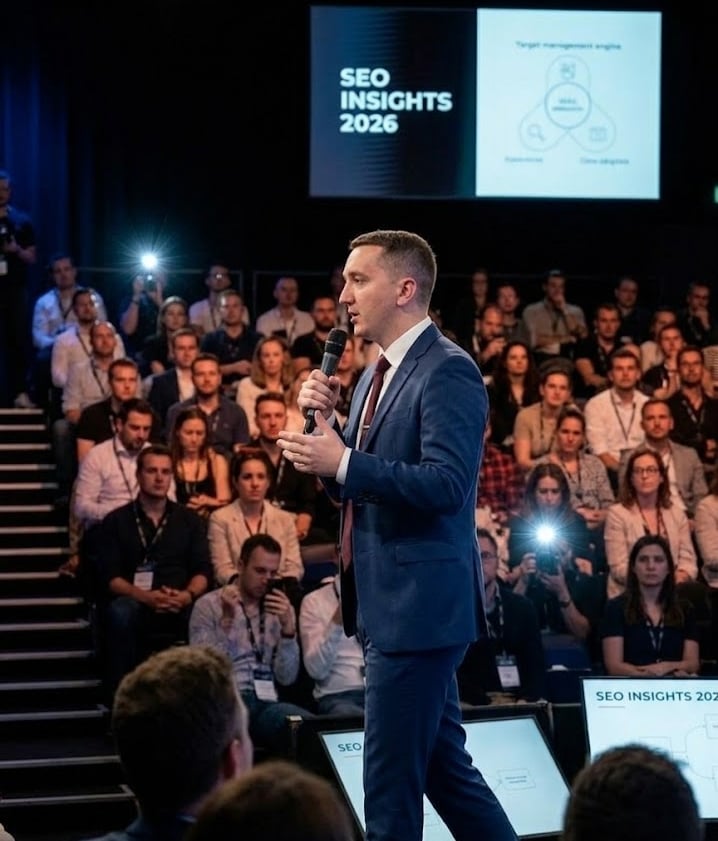
Conférencier et Consultant SEO : Maîtriser les algorithmes de demain
Parce que le référencement naturel est une science en constante évolution, Johan (Atelier-SEO) intervient régulièrement lors de conférences et d'ateliers techniques. Cette culture du partage permet d'offrir aux entreprises de la métropole de Rennes une vision stratégique en avance sur les mises à jour de Google.
Que ce soit pour décrypter l'IA dans le Search ou optimiser des structures E-commerce complexes (Shopify), chaque recommandation s'appuie sur une veille technologique rigoureuse et des cas concrets testés en conditions réelles. Choisir un consultant SEO à Rennes qui transmet son savoir, c'est l'assurance d'une stratégie transparente, éthique et résolument tournée vers le ROI.


Expert Wordpress
Expert Shopify
Certifié Google My Business
Partenaire Semrush
Notre maîtrise avancée du SEO, certifiée par les acteurs clés du marché, est le moteur de l'excellence de notre agence SEO sur Rennes.
Wordpress, Shopify, Google, Semrush
Ils sont convaincus, pourquoi pas vous ?
À propos de votre agence SEO sur Rennes : ATELIER SEO
En tant qu'agence SEO à taille humaine (deux experts), vous bénéficiez d'un avantage clé : l'implication totale.
Vous parlez directement aux personnes qui pilotent concrètement votre stratégie, sans intermédiaire ni dilution de l'information.
100+
10
Années d'expérience
Clients heureux
Des prix clairs, et sans blabla
Vous en avez assez des devis à rallonge et des factures qui doublent à la fin du projet ? Nous aussi.
Chez Atelier SEO, nous croyons que la visibilité web doit être simple, honnête et accessible. Notre politique est claire : pas de devis incompréhensibles, pas de jargon technique inutile et zéro sur-facturation.
Le prix affiché est le prix que vous payez. Point final.
CONCEPTION WEB

La création de votre site web de A à Z : une vitrine en ligne professionnelle, esthétique et simple à utiliser pour vos visiteurs.
GESTION WEB
+
SEO LOCAL
Soyez visible dans votre ville et gardez un site sécurisé et à jour. Nous gérons votre visibilité locale et la maintenance technique de votre site.
Nous attirons plus d'acheteurs sur votre boutique en ligne grâce au SEO, et nous nous chargeons de toute la gestion technique de votre boutique.
GESTION WEB
+
RÉFÉRENCEMENT WEB ECOM
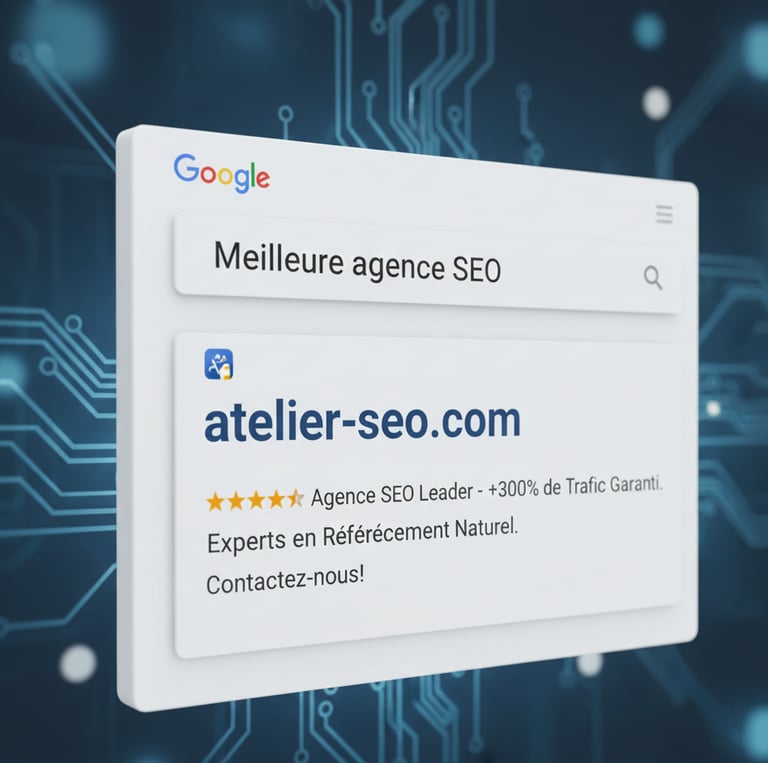
Une acquisition de trafic de qualité réussie
Parce que notre compétence en référencement web n'est plus à prouver.


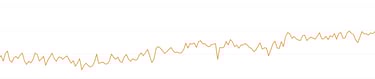


Boutique en ligne dans le domaine des jouets.
En 6 mois : Passée de la position moyenne 25, à la position 6.
Boutique en ligne + physique sur Paris dans le domaine des lunettes.
En 6 mois : Passée de la position moyenne 17, à la position 7.
Boutique en ligne dans le domaine de la puériculture.
En 6 mois : Passée de la position moyenne 15, à la position 6,8.
Référencement local dans le domaine de la plomberie.
En moins de 6 mois : Passée de la position moyenne 50, à la position 3.
Car ATELIER SEO est apprécié ❤️
Alors, pourquoi pas vous ?
Mon site n'attirait personne et j'étais invisible dans ma propre ville. Atelier SEO a complètement revu mon référencement local. Aujourd'hui, j'apparais en première page sur les requêtes stratégiques, mon trafic a fortement augmenté et, surtout, j'ai de nouveaux clients qui m'ont trouvé via Google. Un immense merci !
Guillaume - Propriétaire du site HeritageVintage

Enfin une équipe qui prend le temps de vous expliquer les choses simplement. J'ai vu une vraie différence non seulement sur mon trafic, mais aussi sur la qualité des visites. On sent qu'ils sont passionnés et qu'ils ne travaillent pas "en mode usine".
Le suivi est top et les résultats sont là. Merci !

Louise - Propriétaire du site et boutique AtelierLouParis
★★★★★
★★★★★
Votre agence SEO sur Rennes
Notre véritable moteur, c'est la passion du SEO. Pour nous, ce n'est pas un simple "travail". C'est un jeu de stratégie. Nous aimons comprendre Google, analyser les concurrents et trouver la meilleure méthode pour faire grimper un site en première page. Votre visibilité, c'est notre défi personnel.
ATELIER SEO - Notre philosophie
Chez nous, pas de travail à la chaîne.
Nous sommes une équipe de deux experts, et c'est un choix. Nous avons délibérément choisi de ne pas devenir une "usine à sites" pour garantir une qualité optimale.
Ce que ça change pour vous :
Zéro intermédiaire : Vous avez une ligne directe avec nous. Moins d'interlocuteurs, c'est moins de temps perdu et moins d'erreurs.
Du sur-mesure : Nous ne multiplions pas les projets. Nous prenons le temps de comprendre vos besoins pour y répondre avec précision.
Flexibilité : Nous sommes agiles. Nous pouvons nous adapter rapidement à vos demandes sans passer par dix niveaux de validation.
Où se situe ATELIER SEO ?

Vous avez toujours des questions sur le seo ?
Vos objectifs sont notre point de départ. L'équipe ATELIER SEO élabore pour vous une stratégie webmarketing pertinente et adaptée.
Demandez votre premier diagnostic : remplissez ce formulaire et nous vous recontacterons rapidement pour évaluer vos besoins et définir une solution efficace.
Notre engagement : une méthode éprouvée et une analyse précise pour transformer vos objectifs en résultats concrets.
Téléphone
Nous contacter
+33 07 54 04 99 60
© 2025-2026. Tous droits réservés.